Showing posts with label Inspiration. Show all posts

Friday, February 7, 2014

Lego Week - Lego Wrap Up

I hope everyone enjoyed the past two weeks of Lego crafting inspiration! We certainly had fun putting it all together. Here are a few other ideas we came up with.

Lego Coasters:


I took one of the $5.00 building mats and cut it in quarters to make some fun Lego coasters. Since the top of the mat is slippery, I made a border of Legos along the edge so the cups don't slide off. I figured after using these at a party you could give the coasters to the kids to take home and play with. 


We also added Lego to hand soap and sanitizer in this fun project:
This project is super easy to make. Take an empty soap bottle that you removed the old labels from and pour a little clear soap or sanitizer inside. Add in some Lego pieces and more soap. Keep layering until there is an inch left from the top-- don't forget to leave space for the pump! With the soap, the Lego eventually floats back to the top. With the sanitizer, the pieces stay practically where you put them. 

The two bottles on the outside are hand sanitizer. I'll be using that at my desk at work (so many germs!) and at our diaper changing area in the house. The hand soap is being kept in the bathroom with the training potty. It is just another exciting reason to get potty trained soon soon soon!


Here are some treats I tried out, all inspired by Legos:


That's flat bread pizza my son helped me make and cut into pieces, some fruit snacks on top of fruit strips, peanut butter crackers on top of more peanut butter crackers,very big rice krispie treats, and sugar cookies with colored icing and M&M's on top. It was fun snacking on all of these goodies this week. 

Feel free to share any Lego Inspired crafts or recipes you've tried in the comments below!

I hope you all enjoyed our  Lego Week. To see all of our Lego Inspired posts,  click on this link
 We're off to the movies to see the new Lego Movie this weekend! 


Tuesday, February 4, 2014

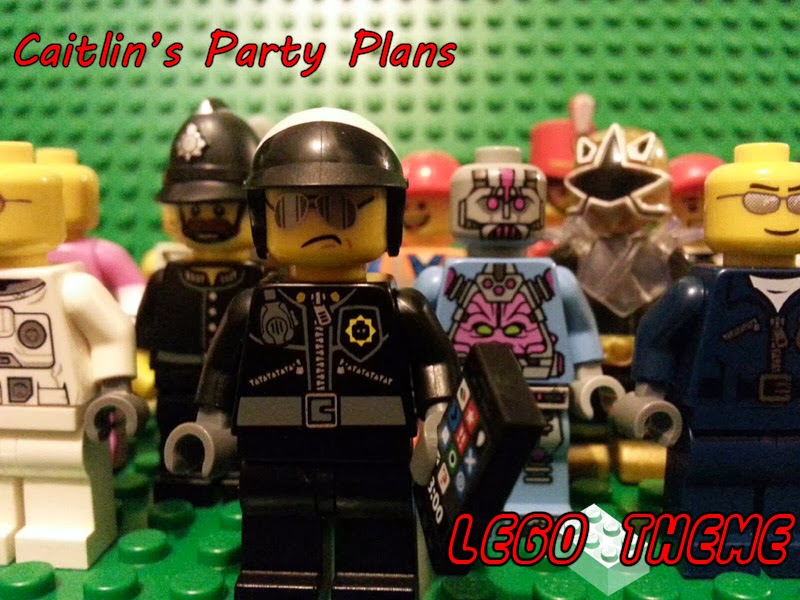
Lego Themed Birthday Party Ideas


Caitlin here. I am the sister who is obsessed with a good themed party. I always try to gear the theme to something that is relevant to the star of the party! Since it is Lego Week, I wanted to compile some fabulous ideas for a Lego Themed Birthday Party!

First, you are going to need invitations. Mo made some really cute handmade Lego Cards here. Making your own invitations is very easy to do. You can focus on the age the child is turning here as well.

Decorations:

Primary Colored balloons would work great here. Cheap and easy! 

You can make your own Lego Pinata and fill it with Lego bricks, Lego brick shaped candy, Lego "guys", M&Ms (which I have seen them referenced as Lego Man Poop).

Plates can be Yellow with faces drawn on them to look like a Lego Man head. (square plates would work best here).

For a utensil holder, you can build that out of bricks yourself!

We just visited our local Lego store and received a free Lego Movie poster! Lucky us! I would use that in my decor. You can also make signs using a Lego font which you can get free at www.typenow.net.

Food:

Main dish can be a classic party food...PIZZA! Make it square shaped pizza with pepperoni so they look like the Lego bricks! My little brother actually had a little girl attend his Ninja Turtle party where we served pizza. She did not like pizza. My mother ended up making her a peanut butter and jelly sandwich. In case that happens to you, you can simply cut the sandwich into rectangles and add circle shapes made out of the bread on top. Problem solved :)

The cake can be made in so many creative and different ways. One I would personally try because of my skill level would be making cupcakes and placing a chocolate molded yellow Lego guy on top. Another route I would go is making rectangle cake (like a pound cake shape) and either placing the upside down cupcakes or large marshmallows on top. Then, cover with icing!

Lastly, we made yummy Lego brick gummies the other day. I would totally have them out for kids to snack on or place in their goodie bags! Lego cookies are also fun and easy to make!

Check out more Lego Food ideas later this week on our blog.

Games:

You can have several stations set up for the kiddies to play throughout the day. Depending on age or skill level, there are so many different games you can try!

Lego Scavenger hunt:
You can describe the different Lego pieces (or provide a picture) for them to find. These Legos can be hidden or in plain site. First one with all the Lego pieces listed wins!

Lego Bingo:
You can make a printable with different Lego pieces on a Bingo board with cards to draw. First one to complete a row wins!

I did a review on Creationary, the Lego game, last week. You can of course play this game at your next Lego party! It is fun for all ages (7 and up is recommended)

You can make Lego Man crayons like we did here and provide a printable coloring page for the kids to color and take home.

Set up a station with assorted Lego bricks to build your own picture frame (take the child's photo if you have a photo printer) and send them home with a cute party favor!

You can also have them make a Lego magnet. Just glue a magnet to the back of their creations!

Since I am into making jewelry ...I would set up a station with easy to use materials for kids to create their own bracelets or necklaces!

You can have the kids sit in a circle. First child rolls a dice. Whatever number they roll, they add bricks to a creation. Than the next person rolls and places those bricks on the other person's bricks and so on. You will end up with some silly creations.

Since my 4 year old nephew is really into building things out of cardboard boxes right now (there is seriously the biggest spaceship in the living room right now as I speak), you can get different sized boxes and cover with primary paper. Make them look like Lego bricks. They can build a fort with the bricks or just simple towers! Kids love knocking those towers down!

Party Favors:

For the party bags, you can get cheap primary colored paper bags and cut out little circles to paste on them. They look like Lego bricks! Fill them with Lego Mini-builds, Lego cookies, gummies, Lego Men, Lego Crayons, Soap, Chocolates...whatever your budget allows! Just like Lego, the possibilities are endless!

DON'T FORGET the Thank You notes!! Teaching my kids manners and gratitude will always matter most. You can make your Thank yous to match your invitations easily!

My son and niece are turning two this March. I am seriously considering a Duplo themed party for them (since they are still too little for Lego). Hope this inspired you as well!

Wednesday, January 29, 2014

Lego Jewelry!!!

I was inspired to make Lego Jewelry since it is Lego Week!! We are celebrating the upcoming Lego movie this week and it has so far been loads of fun.


I was more of a Barbie girl than one who played with Lego growing up. I am totally not the best builder. In fact, I would have to say my son is much better at it than I. Making jewelry is my passion and it was super easy for me to come up with Lego jewelry designs! I hope you like them!


We sell some items on Etsy ourselves. Currently, we do not sell Lego Jewelry, but there are many people who do. For our local fans, we will be selling Lego Jewelry at craft fairs!
Our first craft fair will be at Holy Cross in Springfield, PA March 1st! If you live in the area, be sure to come and check us out!

Here is a little of what I have been working on. Hopefully, it gets you inspired!!


Thursday, November 14, 2013

Thor Week- Even More Thor Inspired Crafts

Hello! Mo here with another Thor Inspired post. Hope everyone is having a great Thursday! (Thorsday?) Anyway, today I wanted to share some additional crafts I did this week that were fairly quick and lots of fun!

First, I searched the web and found this free Thor Cross stitch pattern! 


You can find the PDF download of this pattern by avozika on this website. Since I haven't cross stitched in years, I think beginners could definitely do it. So if you ever wanted to try cross stitching, now is the time! Here is what it looks like completed:


 I stitched this entire pattern while sitting in the dentist's waiting room and watching my favorite prime time TV shows this week. I like to multitask. I still need to put it in a frame and I'm considering stitching a quote underneath just for fun. 

Also this week I made this picture frame: 


I used a wooden frame from my local craft store and some old comic books I found in a thrift store. This was a "teens +" version of Thor. I cut up some interesting parts of the comic book and rearranged them on the picture frame until I liked what I saw. 

Then I got the Mod Podge out! 


This stuff is great. I was able to glue everything down with it. Then, using a paint sponge brush, I put a thin layer of the mod podge over the top and took care along the edges. I put a couple layers on and let it dry. Then I painted the sides and back of the frame black with some help from my son. We like to paint together.

After the paint was dry I sprayed some acrylic sealer on top to make sure everything stays put. The most time consuming part of this project was waiting for everything to dry, but honestly the paint and mod podge dried within minutes. This one is definitely an easy and fast project and I still have plenty of pages from the comic book left to make another!

Thanks for reading, now get crafting!

Tuesday, November 12, 2013

Thor Week - Crash design lesson on the God of Thunder Jewelry

Making the sexy Thor inspired jewelry was one of the most fun pieces to design for me.  I am Irish and my name is of Gaelic decent.  I have always been a fan of the Celtic knot and even incorporated it into my wedding.  My son received a blessed Trinity knot necklace from me and my husband and he carried a Love Knot cross-stitched onto the ring bearer's pillow.  My husbands, wedding band also has a Celtic design.  After seeing the movie "Thor," I was inspired by the Celtic knot that glowed on his favored weapon of choice...his hammer.  


When designing the first Thor necklace, I made sure to capture the beauty of the Celtic knots while staying true to the colors of Thor's costume.  Incorporating the wings in the design was a must. They represent the wings on the sides of his helmet.


The second necklace I made featured more Celtic knots but also focused on the beauty of that design with the large focal point being obviously the knot pendant.


The earrings stayed true to Thor's colors but also reminded me of the shape of the hammer.  The lightning was a powerful statement to have dangling at the bottom.  I chose to make a pair with the lightning and without the lightning depending on the taste of the wearer.


The final piece designed in the Thor likeness is the silver charm bracelet.  Again, the Celtic knot is highlighted in the charms but also a crown and a shield showing that he is also a prince as well as a warrior.


All of these beautiful designs can be purchased here in our store.  Let us know what you think.