Wednesday, February 26, 2014

DIY Eclectic Alphabet Wall Art: Part 3


Welcome back to another installment of DIY Eclectic Letters. Today, we'll talk about letters N to S.


N: Now, before you go thinking that I know how to have a good party, please let me say that I do not drink wine. My friends and family save up their corks for my craft projects. Now that that is out of the way, I started with a brown chipboard letter I had from my scrapbooking. The letter is just shy of 12 inches tall and looks super cute in a book. I used hot glue and adhered the corks starting that the bottom of the letter (always start where there is a straight area to establish a pattern). I used artificial corks from two different wine companies to keep the size and shape as uniform as I could.


O: This letter was made by my mom, Lorelai's Nana! Mom and I are button hoarders so we had a large amount of buttons to choose from for this project. I bought the letter from the clearance section of Babies R Us -- $0.98! It was pink when we bought it so I used the spray paint and made it purple. Mom used Glossy Accents to attach the buttons. For the buttons that had shanks (posts sticking out of the back so they can be attached to clothing), we used a removing tool but scissors that you don't mind making dull work as well. We layered the buttons for some extra fun!


P: I bought a pick punch a few years ago to make a Christmas present. I took old gift cards I had and punched out a handful of picks. I painted the picks that were not in coordinating colors with a variety of acrylic paints. This letter also comes from the Babies R Us clearance section. I was worried about the two letters being right next to each other but with the different decorations, you can barely tell they are the same font.


Q: The letter Q was purchased as plain wood from the Home Depot. I painted it purple.
R: R was purchased from the clearance section of Target. The letter was already a dark brown, which fits well into my color scheme. This letter is actually intended to stand on a shelf but it also hangs quite nicely.


S: The letter S is a wooden piece from A.C.Moore. I painted the gradient fade by hand. I started with the dark purple in the bottom, dipped my paint brush and moved the paint along as far as I could. I added a little white to the paint I'd poured and continued on (in the curve area at the bottom). More and more while was added, moving up the letter. When I go to the middle section, I changed to a new brush to ensure I wasn't going to get dark streaks from before. The lightest color at the top was also painted with a separate brush. I next glued ribbon along the edge.


More to come on making your own eclectic alpha wall!
Check out:
Link to Part 5 (Arranging and Hanging)

Saturday, February 22, 2014

Caitlin Potatoes

When I moved into my home with my son and was all alone to cook for the both of us, I must admit, the options were slim.  He wasn't a picky eater.  It was really important to me to make some healthy choices for Dylan and myself.  I had some potatoes in and didn't know what to do with them.  I am someone who loves seasoning and bold flavors.  I have a palette and I like to excite it as often as possible.  What was there to do with potatoes?  I wanted something new.  Here is what I came up with and I actually never strayed from it since!  Everyone who has tried these potatoes agrees that they are truly delicious.  ENJOY!

Ingredients:
  • Yukon gold potatoes (cut into quarters or chunks)
  • vegetable oil ( I know other oils are so much more healthy but I really feel like the vegetable oil in this case tastes the best)
  • Paprika
  • garlic and pepper seasoning
Directions:

I turn the oven all the way up to about 450 degrees.  I drizzle the vegetable oil all over the potatoes and shake the garlic and pepper seasoning and paprika all over them.  I mix them with my hands to make sure they are evenly coated.  Then I just let the potatoes roast until they are golden brown.  It only takes about 20 minutes.  These potatoes do not need salt in my opinion.  That was my reasoning.  I didn't want my toddler eating a lot of salt but I didn't want to sacrifice flavor.

Let me know what you think!

Thursday, February 20, 2014

Craft Fair- March 1st

We are so excited to announce that we are participating in our very first Craft Fair on March 1st, 2014. We will be at Holy Cross Church in Springfield, PA from 9 am to 3 pm. There will be jewelry, hats, bags, cards, and more. If you live in the area, be sure to stop on by and see our booth as well as many others and meet all the fun and crafty people! 

Sunday, February 16, 2014

DIY Eclectic Alphabet Wall Art: Part 2

Continuing on my letter-designing journey, here is how I did letters G to M. I tried to mix the wall up with some plain and some ornate designs. I also had a few family members make some letters for my baby girl's wall. I love that when we point to certain letters, she calls out "Nana" or "Col-col!"
G: I needed to have a great big letter G since our last name is Gallagher! This letter G is heavy, solid wood, and from Joann's. Using this post I found on Fun Cheap or Free as inspiration, I took to my piles of fabric scraps to dig out purples, tans, browns, and white. I used a cup to trace the size circle I wanted. I wadded up the circles and ran a bead of hot glue down on the wood. It is best to work in small patches-- I learned that one the hard way! This letter turned out heavier than all of the others so make sure you put some extra reinforcement on the back when you hang it up.
H: Letter H was made by my sister Colleen. This is a while chipboard letter that she had left over from a papercrafting kit. If you do not have a a pre-colored letter, make sure you paint it something that coordinates. You don't want orange peeking thru! Col gathered all of the purple, green, brown, and white  ribbon we had (which is a considerable amount). She cut short lengths of each and tied them around the letter. After she was done, we notices some slipping and sliding so Col applied glue to the back of the letter and ribbon to hold them in place.


I: I found a listing on Ebay and bought a few letters in this font for less than a dollar! Plain and simple, I spray painted the I.
J: This J is paper-mache with a wooden letter J glued to the front. I painted the larger letter brown, the trim white, and added polka dots (freehand) in two shades of purple. The wooden letter was white already. I added brown polka dots by dipping a pencil eraser into paint and dabbing them in a random pattern.


K: I purchased the K at Micheal's, It is wooden and came pre-painted white.

L: I purchased a set of blocks at a thrift store with this letter in mind. I glued them together with the smooth side facing out and lined up my daughters name so that it would be showing. I glued the blocks together first with hot glue-- this did not hold up to all the weight. Next, I tried Gorilla Glue... but I used the kind that foams and expands before I realized by mistake. I did my best to sand down the bumps that showed up, painted it white, and painted my daughter's name with glow-in-the-dark purple.
I may be re-doing the L. It gave me a few problems that I am not sure I can live with.

M: The letter M is actually a Cheerios box! I was toying with a few ideas like making it 3D but settled on using three layers of a cereal box, held together at the edges with masking tape. I painted over all of it with a royal purple. The letter is quite tall-- 11.5 inches.

More to come on making your own eclectic alpha wall!
Check out:

Thursday, February 13, 2014

Kids Valentine Crafts

I love getting the kids involved in Valentine's Day Crafts. Here is one that I did with my son two years ago. It was so easy for a 2 year old to do. I traced his hand and arm on brown card stock and cut it out. Then i used heart punches in two sizes to cut out light pink and hot pink hearts. I put sticker tabs on the backs of all the hearts and let him put them wherever he wanted. 


He went for a falling leaves style - so cute. I put green card stock on the bottom of the page for the grass and he picked out a picture he liked so I could put it on the page. 


This year we took an embroidery frame in the shape of a heart, used some thread to attach paper to it, and he and I both put our thumb prints on the paper to make a Love Bug. He added the googly eyes, the bow, and drew the legs. I wrote the Love Bug 2014. I love making a project together with him.


Another craft we did together was for preschool. It was this heart that was supposed to have our family in it. He picked out the papers from a 6x6 paper pad, I cut them and he told me where they go. Then he picked out the family sticker and hearts and put the glue on everything. I did the stickers with our names. 


Wednesday, February 12, 2014

Homemade Lemon Salt Scrub- Valentine's Day Gift Idea

The weather outside is frightful...so is my skin.  I get dry skin on a good day.  It is so important to exfoliate and moisturize.  I have a wonderful smelling homemade sea salt scrub for you to try.  Let me know what you think!


Ingredients:

5 Tablespoons of olive oil

1 Tablespoon on lemon zest

1/2 cup of sea salt


Combine all the ingredients in a bowl and keep in an air tight sealed container.  Scrub all over body and leave on skin for at least three minutes.  Rinse.  Enjoy your soft beautiful skin!


WOW!  This stuff really works!  My skin was so soft after the first use.  I didn't need to follow up with lotion after my shower and my skin was so moisturized and smooth!

Tuesday, February 11, 2014

Valentine's Day Craft- Date Jar & Date Ideas


Last Christmas I made my Pollyanna couple a Date Jar filled with mostly inexpensive and fun ideas for the couple to do together or with their family. I wanted to share those date ideas here with you! 

1. Watch the Sunset Together
2. Go to your Local Farmer's Market 
3. Visit a Pet Shop and look at pets
4. Watch a Movie, Pop Popcorn
5. Find an Outdoor Concert with Cheap Lawn Tickets and bring your lawn chairs
6. Go for a bike ride
7. Play a board game
8. light candles, play romantic music, and have a nice meal together
9. Barbeque
10. Go Mini Golfing
11. Garden together
12. Bowling
13. Learn to Cook a Meal together (you can ask a friend to teach you to make something!)
14. Visit a local musuem or local historical landmark
15. Plan a Picnic in the park
16. Go on a Road Trip
17. Thrifting- yard sales, thrift shops
18. Paint Balloon or Water Gun fight
19. Go to an arcade
20. Carnival
21. find a bar with Karaoke and sing a duet
22. go to a show and support a local band
23. Paint some art
24. go on a second "first date" drive separate and pretend you just met
25. go on a hike
26. make smores by a bonfire
27. fly kites together
28. go out for ice cream
29. Snow Ball Fight!
30. make hot chocolate
31. tv show marathon
32. rollerblade at your local skating rink
33. go to a restaurant you havent been to
34. try a work out class on tv or at your gym if you have a membership
35. milkshakes at nifty fiftys (a local 50's style restaurant)
36. build a snow man
37. visit the pumpkin patch
38. visit tourist places in a nearby city (many are free!)
39. take a walk at the nearby state park
40. go to a festival or convention
41. Do Crosswords or Sudoku together
42. play hide and seek (at a park or at home)
43. wear your jammies, eat cereal, and watch your favorite kid cartoons
44. Go to Linvilla Orchards (local farm), Feed the ducks
45. build a fort together
46. make your own pizza
47. go Geocaching
48. YouTube a Dance Lesson
49. Watch a Documentary together
50. Do a Puzzle
51. read a book together, out loud
52. Play a video game together
53. Camp indoors, make smores, sleep in your family room
54. See a show in a theater
55. make a gingerbread house
56. Look at Christmas Lights
57. Play Pool at the Billiards
58. Rearrange furniture
59. Have a photo shoot
60. Go on a scavenger hunt


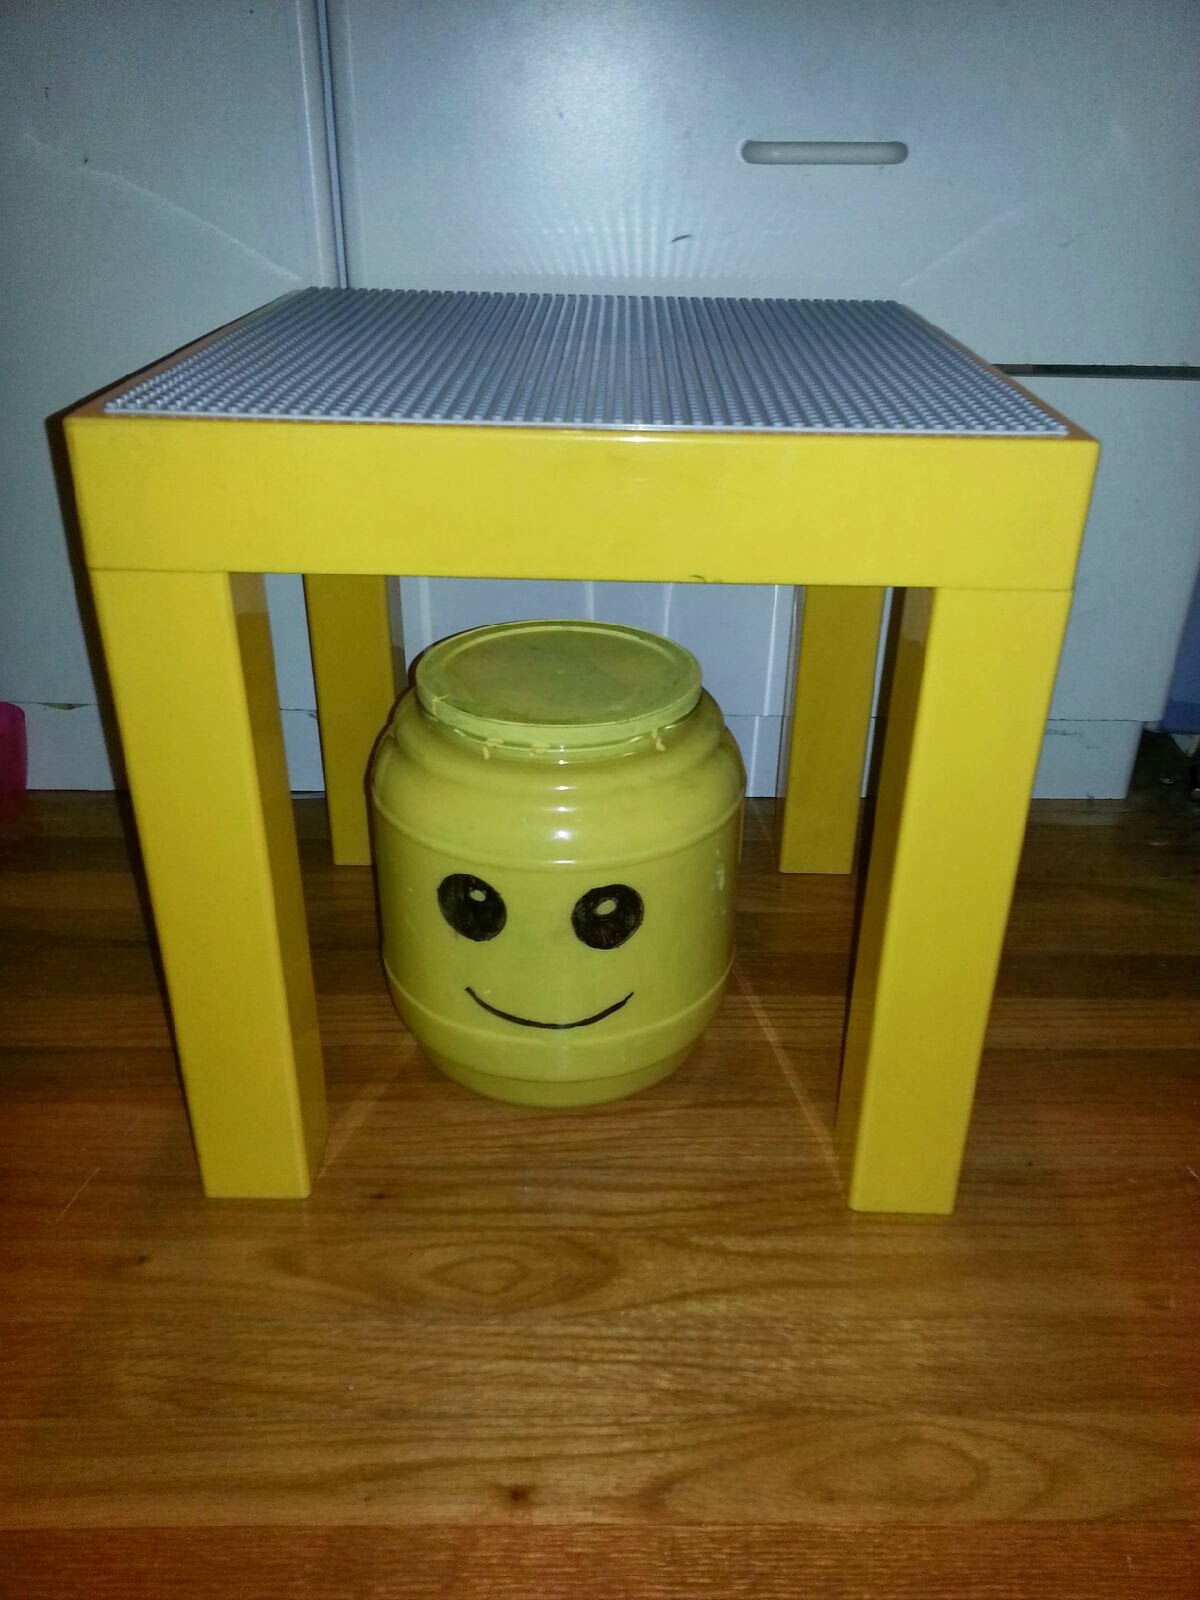
In my Date Jar I painted plain craft sticks different colors and organized the activities and dates by category - Summer, Winter, $$, Outdoor, Active, etc. I wrote on the sticks with a thin sharpie pen and included a tag with all of the categories in the jar.

I hope this gives you some fun ideas to do this year! 


Monday, February 10, 2014

The Gift of Adventure


Today, I will be sharing with you a gift idea. Every year, my family has a Pollyanna exchange at Christmas time. This year to keep things interesting, we chose Pollyanna’s as couples. This gift was a wonderful Christmas present but could be given year-round at a Bridal Shower or to your partner this Valentine’s day!
The concept of the gift Is simple—I sat down and brainstormed 8 mini adventures my sister could go on with her fiancé and 8 more adventures that she could do with her fiancé and son. We had a spending limit of $100.00 a couple so there isn’t anything in here that is bank-breaking. In some cases, the gift pays for a small portion of the date, all of the date, or the date is something that is largely free. I made sure there was a variety of activities—funny adventures, physical challenges, food-related, artistic… something for everyone to enjoy.
I started the gift with the carrying case. This helped to set the restrictions and realities for what we could accomplish. I purchased an Extra Large IRIS Photo and Craft Keeper, 16 individual 4x6 cases within at Michael’s (with a coupon!!). I knew I needed to make each adventure fit in to a 4x6 photo case and I needed to have 16 in total. Maureen has a ton of printed pictures so I was confident that she would use the case even if she dismantled the adventures. I did choose options that you can keep doing over and over again (aside from the couple needing to purchase more items), so she could use the case for years to come as well.
Coming up with gifts that would fit into the case—that was the fun challenge for me! Take a look at the printable (link below) that I have included in this post for more information. I have the date descriptions, what I included in each case, and the case labels for each all ready for you to peruse -- you can make your own!

On a side note, my sister is an avid scrapbook enthusiast. I included Project Life cards, embellishments, and photo challenges in most if not all of her cases. If the person you are gifting this to is not a fan, it is best to leave that out and use the expense somewhere else. I recommend hounding your local Groupon and Living Social pages for deals. There were quite a few we looked at but passed up for other adventures. Do you know someone that wants to ride a Segway on an obstacle course or get family photos taken at Picture People?

Sunday, February 9, 2014

Handmade Valentine's Day Cards - Fast and Easy


I have accumulated quite a few of these journaling cards that are designed for pocket pages, such as Project Life. They generally come in a 3x4 or 4x6 size. A lot of them have cute titles on one side and space for journaling on the back. I decided to use a few for my Valentine's Day cards this year. It was so easy and each card came together in five minutes or less! 


I used different sizes for the card bases and started with the 3x4 cards I knew I wanted to use. For most of the cards I either matted the card with more patterned paper or ran a border strip across the middle. I also used some stamping one the "Kissing Booth" card

. I highly recommend grabbing a pack of these cards- Michael's has some called Pocket Pages and they've also started carrying some Project Life and Snap! Then you can use your stickers, paper, and embellishments to make each card unique. I try not to think too hard on each one. Sometimes the simplest cards look the best to me! Hope this helps give you some ideas on fast and easy Valentine's Day Cards.

Saturday, February 8, 2014

Jewelry in our Etsy Shop

Valentine's Day is coming up! Today I wanted to share some fabulous jewelry we have available in our Etsy Shop


These are the Sailor Moon Inspired Earrings. They have cute red glass hearts and pretty beads and remind me of my favorite childhood character.


One of my favorites is the Bat Signal Necklace. It's a little more obvious that it was inspired by a hero as it has a small bat signal on the necklace. Perfect for your Valentine that loves Batman!


This Catwoman Inspired Bracelet is seriously sexy and comes paired with stunning earrings.


This Lasso of Truth Necklace is inspired by Wonder Woman's Lasso and has lots of beautiful gold filled chains. I love this piece!


Don't forget to check out the other jewelry and products we have in our store and get your Valentine something beautiful! Remember, if you order by February 13, 2014, we will include free Lego Man shaped soap with your order! 


Friday, February 7, 2014

Lego Week - Lego Wrap Up

I hope everyone enjoyed the past two weeks of Lego crafting inspiration! We certainly had fun putting it all together. Here are a few other ideas we came up with.

Lego Coasters:


I took one of the $5.00 building mats and cut it in quarters to make some fun Lego coasters. Since the top of the mat is slippery, I made a border of Legos along the edge so the cups don't slide off. I figured after using these at a party you could give the coasters to the kids to take home and play with. 


We also added Lego to hand soap and sanitizer in this fun project:
This project is super easy to make. Take an empty soap bottle that you removed the old labels from and pour a little clear soap or sanitizer inside. Add in some Lego pieces and more soap. Keep layering until there is an inch left from the top-- don't forget to leave space for the pump! With the soap, the Lego eventually floats back to the top. With the sanitizer, the pieces stay practically where you put them. 

The two bottles on the outside are hand sanitizer. I'll be using that at my desk at work (so many germs!) and at our diaper changing area in the house. The hand soap is being kept in the bathroom with the training potty. It is just another exciting reason to get potty trained soon soon soon!


Here are some treats I tried out, all inspired by Legos:


That's flat bread pizza my son helped me make and cut into pieces, some fruit snacks on top of fruit strips, peanut butter crackers on top of more peanut butter crackers,very big rice krispie treats, and sugar cookies with colored icing and M&M's on top. It was fun snacking on all of these goodies this week. 

Feel free to share any Lego Inspired crafts or recipes you've tried in the comments below!

I hope you all enjoyed our  Lego Week. To see all of our Lego Inspired posts,  click on this link
 We're off to the movies to see the new Lego Movie this weekend! 


Thursday, February 6, 2014

Lego Week: DIY Lego Key Holder

I love the idea of adding fun into your home decor. I have seen a few different key holders around the internet including one that is sold by Lego and thought... I can do that!

For this Lego project, I started tinkering with a few of the Lego pieces we picked up at the store last week. My partner came upon me and demanded he participate. Ian has been an avid Lego fan since he was a small child.

To make the plate, we used a Lego Blue Building Plate as the base. Next, Ian designed the door. He used pieces we had purchased at the Lego store from the brick wall to make a flat door, trim, and doorknob brick.  The key, he used several bricks without the bumps on the top to give the feeling of a sleek piece of metal.

You can approach this at several levels of DIY. In our case, we made key chains with the Technic Lego block that are designed with holes in the sides of the bricks. I bought a package of key rings at Micheal's-- done! You could use a drill and put a hole in your own standard Lego brick too! Here, you would choose a good place for your ring, drill, and add in the key ring. On an even simpler level, you could buy a ready-made Lego man key chain available in the stores and online.

Using a drill, make a whole in the Lego plate close to each corner and screw into the wall by your front door. Alternatively, you could use mirror hooks to hang the plate if you are shy about putting holes into your precious Lego pieces.

Ian was so excited about the project, he pulled out a notebook and started sketching an "even better" key holder for our home. I see a special online order in my future-- and I promise to post the results of that adventure as well.

Tuesday, February 4, 2014

Lego Themed Birthday Party Ideas


Caitlin here. I am the sister who is obsessed with a good themed party. I always try to gear the theme to something that is relevant to the star of the party! Since it is Lego Week, I wanted to compile some fabulous ideas for a Lego Themed Birthday Party!

First, you are going to need invitations. Mo made some really cute handmade Lego Cards here. Making your own invitations is very easy to do. You can focus on the age the child is turning here as well.

Decorations:

Primary Colored balloons would work great here. Cheap and easy! 

You can make your own Lego Pinata and fill it with Lego bricks, Lego brick shaped candy, Lego "guys", M&Ms (which I have seen them referenced as Lego Man Poop).

Plates can be Yellow with faces drawn on them to look like a Lego Man head. (square plates would work best here).

For a utensil holder, you can build that out of bricks yourself!

We just visited our local Lego store and received a free Lego Movie poster! Lucky us! I would use that in my decor. You can also make signs using a Lego font which you can get free at www.typenow.net.

Food:

Main dish can be a classic party food...PIZZA! Make it square shaped pizza with pepperoni so they look like the Lego bricks! My little brother actually had a little girl attend his Ninja Turtle party where we served pizza. She did not like pizza. My mother ended up making her a peanut butter and jelly sandwich. In case that happens to you, you can simply cut the sandwich into rectangles and add circle shapes made out of the bread on top. Problem solved :)

The cake can be made in so many creative and different ways. One I would personally try because of my skill level would be making cupcakes and placing a chocolate molded yellow Lego guy on top. Another route I would go is making rectangle cake (like a pound cake shape) and either placing the upside down cupcakes or large marshmallows on top. Then, cover with icing!

Lastly, we made yummy Lego brick gummies the other day. I would totally have them out for kids to snack on or place in their goodie bags! Lego cookies are also fun and easy to make!

Check out more Lego Food ideas later this week on our blog.

Games:

You can have several stations set up for the kiddies to play throughout the day. Depending on age or skill level, there are so many different games you can try!

Lego Scavenger hunt:
You can describe the different Lego pieces (or provide a picture) for them to find. These Legos can be hidden or in plain site. First one with all the Lego pieces listed wins!

Lego Bingo:
You can make a printable with different Lego pieces on a Bingo board with cards to draw. First one to complete a row wins!

I did a review on Creationary, the Lego game, last week. You can of course play this game at your next Lego party! It is fun for all ages (7 and up is recommended)

You can make Lego Man crayons like we did here and provide a printable coloring page for the kids to color and take home.

Set up a station with assorted Lego bricks to build your own picture frame (take the child's photo if you have a photo printer) and send them home with a cute party favor!

You can also have them make a Lego magnet. Just glue a magnet to the back of their creations!

Since I am into making jewelry ...I would set up a station with easy to use materials for kids to create their own bracelets or necklaces!

You can have the kids sit in a circle. First child rolls a dice. Whatever number they roll, they add bricks to a creation. Than the next person rolls and places those bricks on the other person's bricks and so on. You will end up with some silly creations.

Since my 4 year old nephew is really into building things out of cardboard boxes right now (there is seriously the biggest spaceship in the living room right now as I speak), you can get different sized boxes and cover with primary paper. Make them look like Lego bricks. They can build a fort with the bricks or just simple towers! Kids love knocking those towers down!

Party Favors:

For the party bags, you can get cheap primary colored paper bags and cut out little circles to paste on them. They look like Lego bricks! Fill them with Lego Mini-builds, Lego cookies, gummies, Lego Men, Lego Crayons, Soap, Chocolates...whatever your budget allows! Just like Lego, the possibilities are endless!

DON'T FORGET the Thank You notes!! Teaching my kids manners and gratitude will always matter most. You can make your Thank yous to match your invitations easily!

My son and niece are turning two this March. I am seriously considering a Duplo themed party for them (since they are still too little for Lego). Hope this inspired you as well!

Monday, February 3, 2014

Lego Week: Fun Lego Photos


I am having fun documenting Lego Week and making sure I get a lot of photos so I can scrapbook them. 


I wanted to make some props for fun and made this Lego head using simple rounded rectangles:


I printed a few and let my son color faces. He came up with some pretty cool monsters! Then we attached them to colored Popsicle sticks with some glue dots.


Here are some links of amazing Lego Photos I've seen around the internet:


Warm Hot Chocolate has some printable Lego eyes so you can still see who's under that face. Adorable!


No Bad Days talks about making this adorable cardboard cutout for pictures.


Free Stylin' talks about these super cool Lego bricks on the wall, bet you could make an entire back drop out of those!


Stop by your local movie theater and see if they have one of these cutouts. We took quite a few pictures here.

Do you have any cool Lego photography ideas? Please share in the comments below. 


Sunday, February 2, 2014

Lego Week: Fun with Lego Molds

We had a lot of fun making things with molds. The possibilities are endless.


We have a ton of these molds and found quite a few Lego varieties, too!

First, we made some yummy white chocolate.


We then used some of the brick molds to make gummy candy. The kids loved these!


A very popular use for these molds is to make crayons. We gathered all of our broken crayons and used them to make some lovely shapes.


 Lastly, we made some fantastic scented soap. I think these came out the best.


Lucky for you, we want to share! Order any physical item (excludes crochet patterns) from our Etsy Shop by February 13, 2014 and we will ship you some Lego Man soap along with your order! Thanks for stopping by! 


Saturday, February 1, 2014

Lego Week- DIY Lego Storage


I hope everyone is enjoying Lego Week. My exciting announcement is that there is MORE next week! That's right, another week of Lego Inspired crafts! 

This Lego Head Jar was incredibly easy. It is my alternative to this one that sells for around $20.00 in most stores (unless you can find a local Marshall's where it's on clearance!). My DIY Lego Storage is a bit larger, made from one of those plastic containers that pretzels and cheese balls come in. I saw some great jars on pinterest and was excited to try it myself. 

First, I used acrylic paint on the inside of the jar. I started by letting it drip from the top rim down. then I painted all around the inside. I put two or three coats of paint on, letting it dry in between each coat. I then used a sharpie marker to make the face on the front. Simple as that! 


It fits nicely under my DIY Lego Table, too! You can try with any size jar you like. Enjoy!